
Ask and you shall receive.
Since my Christmas Party Makeup post, a few readers have asked me if I could do a step-by-step tutorial of how I would apply the makeup. I know it probably would have been easier for me to film the makeup look, but I don't know if i'm ready to start making youtbube videos just yet. I hope this is helpful for those who asked for it and if you want to try this look out, post it on instagram and tag @veesaunders so I have a look at them!

First I started off applying my Nars Sheer Glow foundation with a real techniques buffing brush. I didn't want to much coverage, but enough to cover my imperfections and even out my skin tone. Once my foundation was blended I went in with my MAC Pro-Longwear concealer to brighten under my eyes and cover any scaring or imperfections I had on my skin. To set everything in place I used the Nars Light Reflecting setting powder.

To add some dimension to my face I used Nars Madly blush on a sigma blush brush. For high lighter I used Benefits Watts Up! which is a champagne/gold shade followed by MACS Soft and Gentle. I applied the high lighter to the highest points of my face which are my cheekbones, my forehead, down the centre of my nose, my cupids bow and my chin.
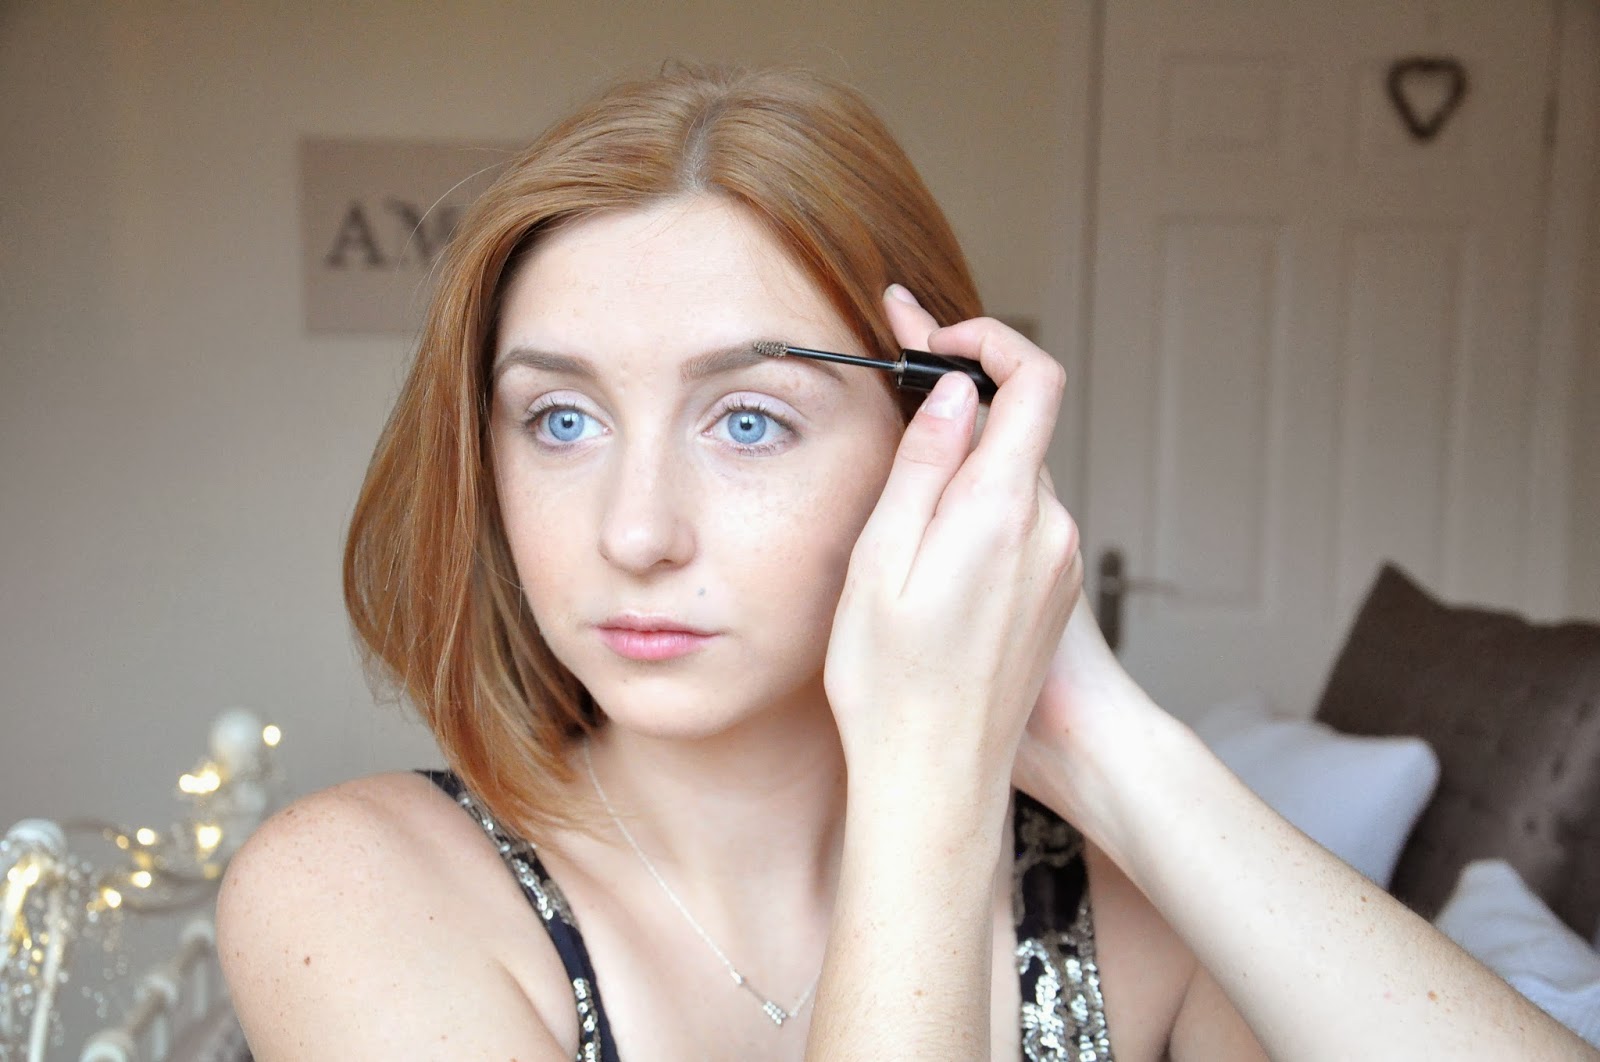
As this a heavier eye makeup look I defined my eyebrows a little more than I usually would. I used MACs Fling Eyebrow pencil to outline the shape of my brows and used Benefits Gimmie Brow to fill them in, make them appear thicker and set them in place.

I primed my eyelids with MACs Painterly Paintpot to prevent creasing and create a black canvas to work on. To begin defining my crease I took a little bit of Snakebite from the Naked 2 palette and with a blending brush started to shade my crease. The trick here is to use little product, blend it all out and layer it. Its not the quickest process, but when you have deepened up your crease to your liking, it will look very smokey and blended perfectly.

I then took Half Baked and packed the shadow onto my lid using an eye shadow brush. Packing means placing the product onto the eye using a pressing motion, you'll get great colour pay off and less fall out doing it this way.

To intensify the gold eye shadow I took my Glitter Liner form Collection and placed the glitter all over the gold shadow I had just used. You can to one layer to add a hint of glitter or layer it to really intensify the gold. When you are happy with the amount of glitter that is on your eye, go back to your crease colour and go over any areas were you think needs darkening.

Eyeliner and Mascara really pull this look together. Line your lash line with your favourite liquid or gel liner (pencil liner won't work over the glitter) to give your lashes a thicker appearance. Curl your lashes and apply several coats of your favourite Mascara, I used Tartes Gifted mascara. You could definitely use false eye lashes for this look, in fact I would probably recommend that you use them to add more drama to your eyes. I didn't use any because I don't particularly like to use falsies.

You can use any lipstick of your choice, I decided to go with MACs Ruby Woo as I feel red lipstick is a must have at Christmas time.
Now, I hate lip gloss, but for the purpose of this tutorial I wanted to use it to show you want a difference lip gloss will make to this look. I love the way lip gloss looks, hate the way it feels, but if its something you like to wear, then definitely apply a clear or red gloss over the top


