Showing posts with label how to. Show all posts

St Patricks Day Makeup Look

3.13.2014


With St Patricks day right around the corner I thought it would be fun to do a 'St Patricks' day inspired makeup look. Here in Chicago, there is a huge Irish community, so they go all out on St Patricks Day - when I say all out, they even dye the Chicago River green. Im not even kidding, google it! 

I wanted to join in the St Patricks day fun, so I came up with a smokey green eye makeup look. I know a few of you are already thinking "green eye shadow? She's completely lost it". I am not the kind of girl to wear coloured eye shadow, and I mean I never wear eye shadows that aren't a neutral shade, but I felt inspired to play around with brighter colours, get out of my comfort zone and create a look that is wearable. Having blue eyes I just assumed from the get go that most coloured eye shadows wouldn't suit me, and I firmly stuck to my loyal neutral palettes and shades for the last few years. Surprisingly, once I started playing around with different colours and combinations I found that coloured eye shadow isn't all that scary. Now, don't expect me to start walking around with bright pink eye shadow any time soon, I don't feel that confident just yet. 

This look is perfect to get you in the spirit for St Patricks day. Its very wearable, its blended well which makes it more of a subtle hint of colour. I will most certainly be wearing this when we go downtown for the St Patricks day parade. Apparently they serve green beer... I hate the taste of normal beer, but if its green, I can't pass up trying it at least once! 


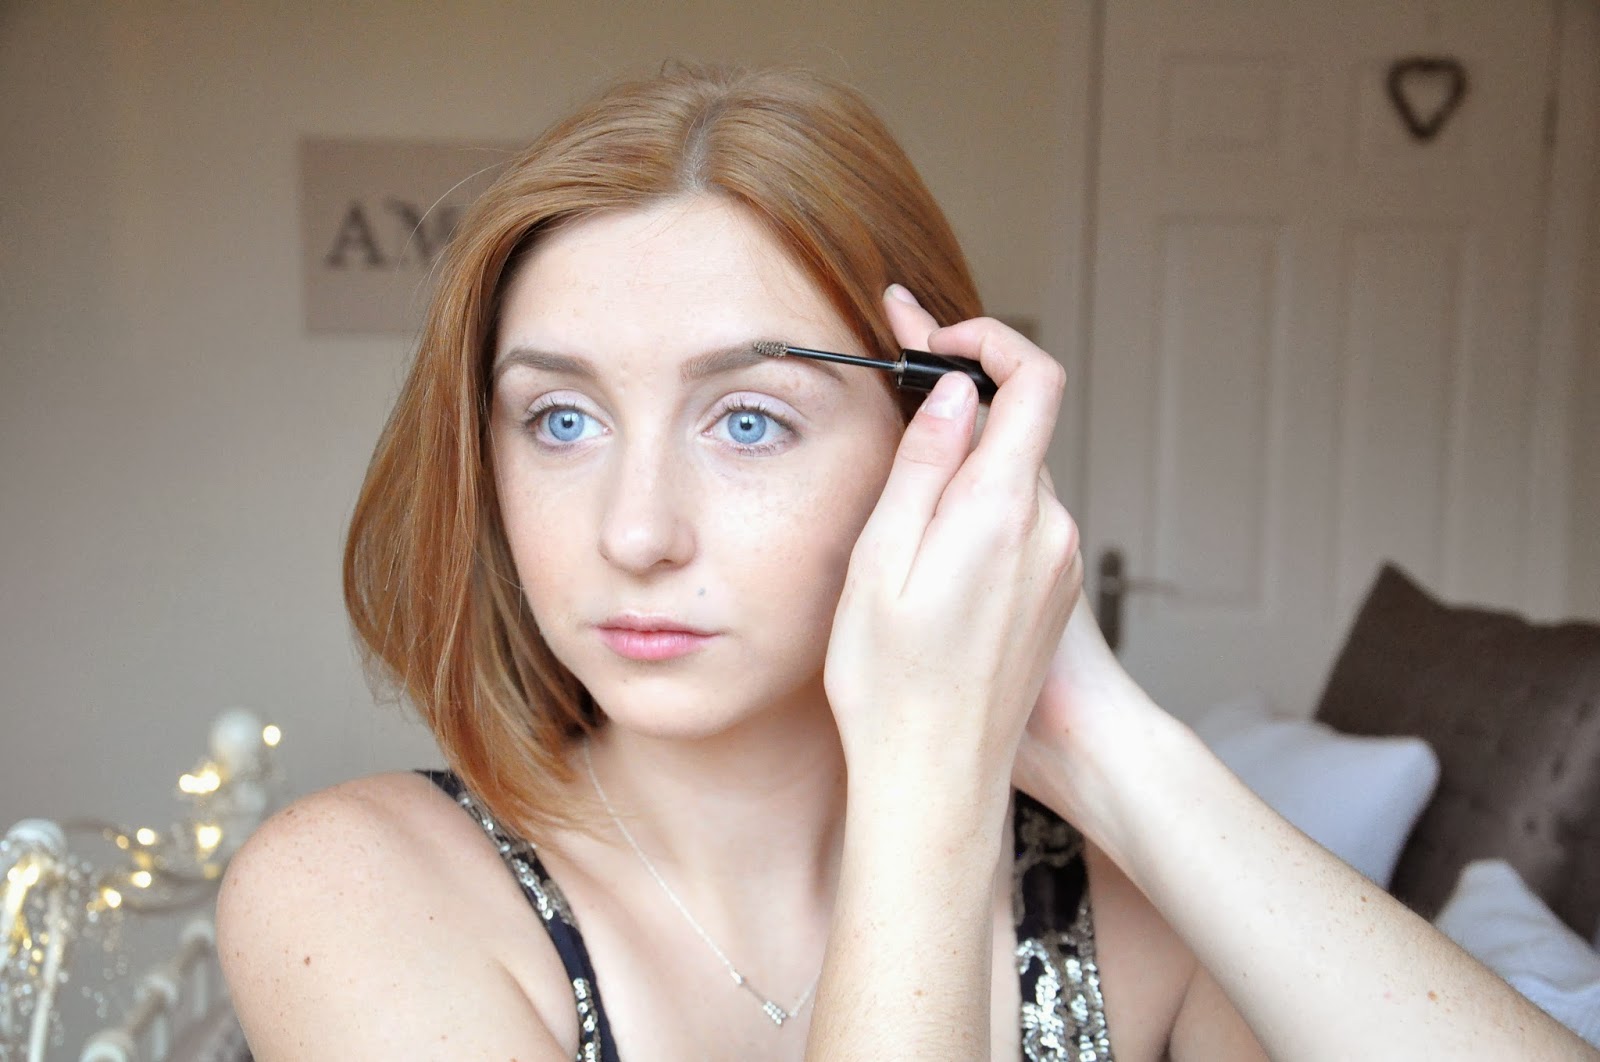
When wearing a bold eye look, its always best to start with a flawless base. I primed my skin with benefits Porefessional and spent a while blending in my Makeup Forever HD foundation to make sure my skin looked natural, but flawless. If you're going to be taking pictures, I suggest using a foundation like the Makeup Forever HD or one without SPF to prevent flashback (if theres green beer involved, there will be some priceless photographs) I concealed using my MAC Pro long wear concealer to prevent creasing, then I used a little bit of my NARS radiant creamy concealer that is in a lighter shade than my skin tone just under my eye, down the bridge of my nose and across my cheekbones to highlight that area. To contour I used Benefits Hoola bronzer and I followed with my NARS orgasm blush to add a hint of colour to my cheeks. To highlight I dusted my Hourglass powder in Diffused Light under my eyes, across my cheek bones, down the bridge of my nose, my forehead and my chin and followed with MACS Soft and Gentle to highlight my cheekbones further. For my brows I used my Sigma brow powder duo in light and my Benefit Gimmie Brow to set everything in place - definitely define your eyebrows when you're doing more of a dramatic eye makeup as it will balance everything out. 


For the eye makeup, I used MACS Painterly Paintpot to prime my eyes and make sure my eye shadows last all day and to prevent creasing. With my finger I applied MAC plumage as a base to make my green eye shadow look more vibrant. I then applied MAC Green-Smoke all of the lid in a pressing motion to ensure the colour is pigmented. I blended the two eye shadows out into my crease to neaten everything up and then applied MAC Satin Taupe through the crease to deepen it up a little and smoke it out. To deepen up the outer eye I lightly blended MAC Carbon with a fluffy brush to add a little more dimension. I lined my eyes with Bobbi Browns black gel liner and applied several coats of my Lights Camera Flashes mascara to give my lashes a lots of volume and length. I would definitely use false eyelashes with this look, but lots of mascara will do the trick if you don't have any at hand/aren't comfortable using falsies. My best trick to give your lashes lots of volume and length is to use a curl your lashes, then use a drier mascara for your first coat to separate the lashes and let the mascara dry in between coats. 

Finish the look with a nude lipstick and a sheer pink lip gloss and you're good to go! 


The Christmas Party Makeup Tutorial

12.21.2013


Ask and you shall receive. 

Since my Christmas Party Makeup post, a few readers have asked me if I could do a step-by-step tutorial of how I would apply the makeup. I know it probably would have been easier for me to film the makeup look, but I don't know if i'm ready to start making youtbube videos just yet. I hope this is helpful for those who asked for it and if you want to try this look out, post it on instagram and tag @veesaunders so I have a look at them! 


First I started off applying my Nars Sheer Glow foundation with a real techniques buffing brush. I didn't want to much coverage, but enough to cover my imperfections and even out my skin tone. Once my foundation was blended I went in with my MAC Pro-Longwear concealer to brighten under my eyes and cover any scaring or imperfections I had on my skin. To set everything in place I used the Nars Light Reflecting setting powder. 


To add some dimension to my face I used Nars Madly blush on a sigma blush brush. For high lighter I used Benefits Watts Up! which is a champagne/gold shade followed by MACS Soft and Gentle. I applied the high lighter to the highest points of my face which are my cheekbones, my forehead, down the centre of my nose, my cupids bow and my chin. 


As this a heavier eye makeup look I defined my eyebrows a little more than I usually would. I used MACs Fling Eyebrow pencil to outline the shape of my brows and used Benefits Gimmie Brow to fill them in, make them appear thicker and set them in place. 


I primed my eyelids with MACs Painterly Paintpot to prevent creasing and create a black canvas to work on. To begin defining my crease I took a little bit of Snakebite from the Naked 2 palette and with a blending brush started to shade my crease. The trick here is to use little product, blend it all out and layer it. Its not the quickest process, but when you have deepened up your crease to your liking, it will look very smokey and blended perfectly.  


I then took Half Baked and packed the shadow onto my lid using an eye shadow brush. Packing means placing the product onto the eye using a pressing motion, you'll get great colour pay off and less fall out doing it this way.


To intensify the gold eye shadow I took my Glitter Liner form Collection and placed the glitter all over the gold shadow I had just used. You can to one layer to add a hint of glitter or layer it to really intensify the gold. When you are happy with the amount of glitter that is on your eye, go back to your crease colour and go over any areas were you think needs darkening. 


Eyeliner and Mascara really pull this look together. Line your lash line with your favourite liquid or gel liner (pencil liner won't work over the glitter) to give your lashes a thicker appearance. Curl your lashes and apply several coats of your favourite Mascara, I used Tartes Gifted mascara. You could definitely use false eye lashes for this look, in fact I would probably recommend that you use them to add more drama to your eyes. I didn't use any because I don't particularly like to use falsies. 


You can use any lipstick of your choice, I decided to go with MACs Ruby Woo as I feel red lipstick is a must have at Christmas time. 
Now, I hate lip gloss, but for the purpose of this tutorial I wanted to use it to show you want a difference lip gloss will make to this look. I love the way lip gloss looks, hate the way it feels, but if its something you like to wear, then definitely apply a clear or red gloss over the top


How To: Messy Ballerina Bun

8.18.2013


I am loving the sock bun craze that everyone is following right now, Its a quick fix that makes you look like you made an effort that morning. It has taken me a while to get into it as the only times I normally wear my hair up is first thing when I get home from work and I throw my hair up in a top knot and change into my pyjamas - anyone else do this? 

Now, Im not a fan of sock buns that are neat and tidy, its a look that just doesn't suit me. However I have found that you can create a messy bun using a hair donut, a casual and laid back look that is perfect for everyday.  a little tip - to dress up a messy bun you can wrap a few flowers around the base! Perfect for you festival goers this summer!

Heres how you achieve this look, to start you need a hairbrush, bobby pins, a hair tie and a hair donut.


1. I started by brushing my hair out to get rid of any knots and tangles and applied a texturing powder to the roots to give my hair some volume. This look works best on second day hair, so you'll need to backcomb your hair or apply some texturising powder or mouse to give your hair some grip.  

2. Backcomb the roots of your hair if needed and gather your hair into a pony tail at the crown of your head and secure with a hair tie. Try and keep the pony tail loose and relaxed.

3. Thread your donut through the pony tail and down to the base of your pony tail.

4. Backcomb the hair gathered in your pony tail to make it look a bit more messy and smooth the hair over and around the donut so the hair completely covers it.


5. Once your hair has covered all of the donut you can start wrapping the ends of your hair around the base of the donut and use the bobby pins to keep it all in place. Its best to use bobby pins all around the base of the bun to keep all of the hair in place and to stop it falling out during the day.

6. Once your bun is securely in place and you are happy with how it looks you can start to messy it up a little to relax the look. Hold your bun in place and gently tug at the hair around the base of the pony tail and pull out the baby hairs around the nape of your neck and a few around the hair line to frame your face. 


If you are happy with how the bun looks leave it as it is and spritz a bit of hairspray all over your head to keep it all in place. 

If you want to dress up the bun you can add flowers or any kind of hair accessory around the base of the bun. This is be perfect for festivals you may be going to this summer or any nights out you have coming up. 


If you try out this look, take a photo and use the hash tag #victoriabeautyy so I can check them out